Thursday, May 17, 2012

Front Baggage Compartment Still...


Fixed the hinge support bracket so it can be attached to the bulkhead and still not interfere with the access plate modification. Got the keyed lock semi-installed, of course it will have to come back out when painting the exterior. All hinge support pieces are also painted, which isn't shown in the photos yet. Door is ready to be fitted and riveted.

Friday, May 11, 2012

Baggage Door Dissassembled; Key Hole; Painted


Yesterday, I finished fitting the baggage door, as much as possible for now anyway, and then disassembled most of the pieces. I then drilled out the key lock hole and filed it down smooth. The parts were then scotchbrited, cleaned with acetone and then painted with Rustoleum Smoke Gray. They are now ready for reassembly.

Thursday, May 10, 2012

Baggage Door Continued and Fitted


The last few days, I have been working on the baggage door and fitting it to the fuselage. I also had to modify the right front baggage compartment piece to avoid interference with the previous brake line modification. This is like dominoes when you start one modification, it usually snowballs into affecting other things that will then require modification. As you can see from one of the attached photos, the baggage door support hinge bracket will have to be modified as the modification for better access to the avionics left no where to attach the back side of the hinge support bracket. I am still trying to decide the best method on that one.
Anyway, the baggage compartment pieces were put into the fuselage, the top front fuselage skin was attached after the area for the baggage compartment door was removed, and then I have been working on the hinge and fitting of the door to the fuselage.

Friday, May 4, 2012

Forward Baggage Door


Today, I began building the forward baggage door.

Large Aileron Pushrods; Wheel Pants


The last couple of day, I have built the long aileron pushrods and have also been working on the wheel pants. When the wheel pants come from Vans, there is a lot of work to match everything up to have the front match with the rear part. I also drilled out the holes where the screws will attach the two parts.

Tuesday, April 10, 2012

Lower Brake Lines; Aileron Pushrods


Today, I built the lower brake lines and connected them to the calipers.
I also built the small aileron pushrods that connect from the bellcrank to the aileron.

Thursday, April 5, 2012

Brake Lines; Fuel Valve; Wheel Pant Nutplates


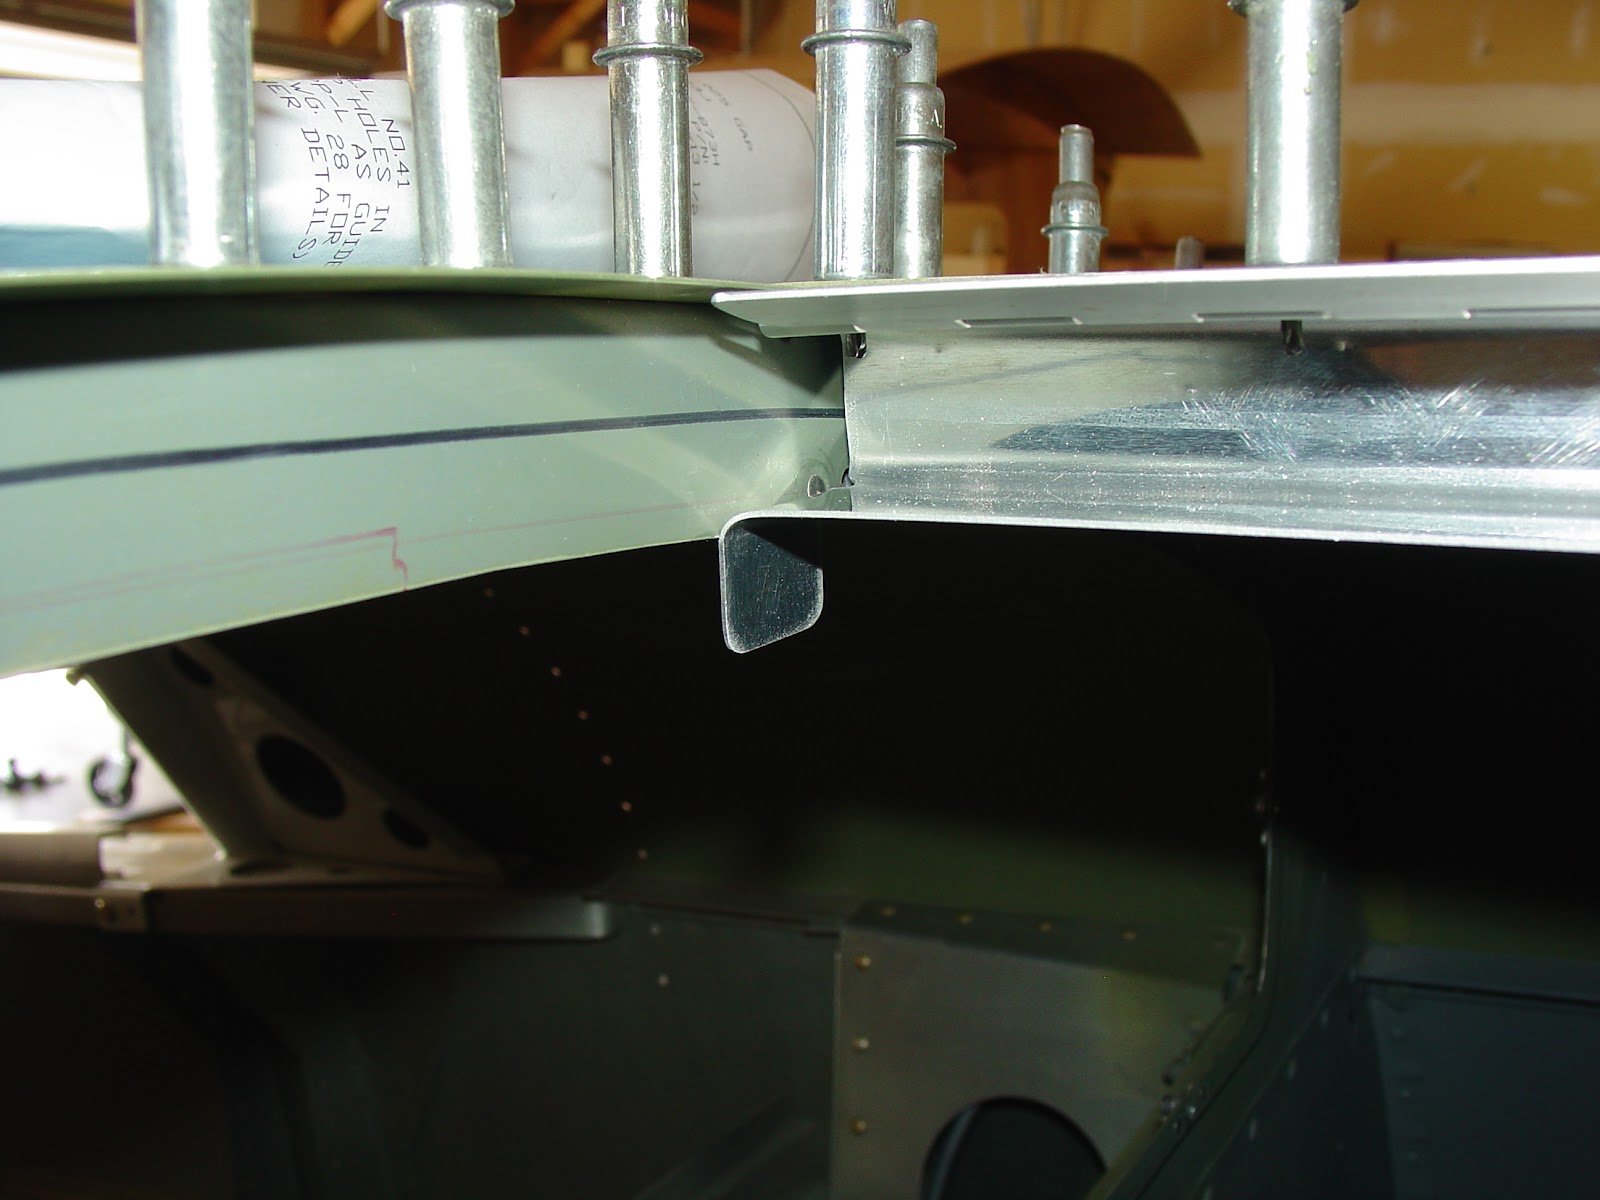
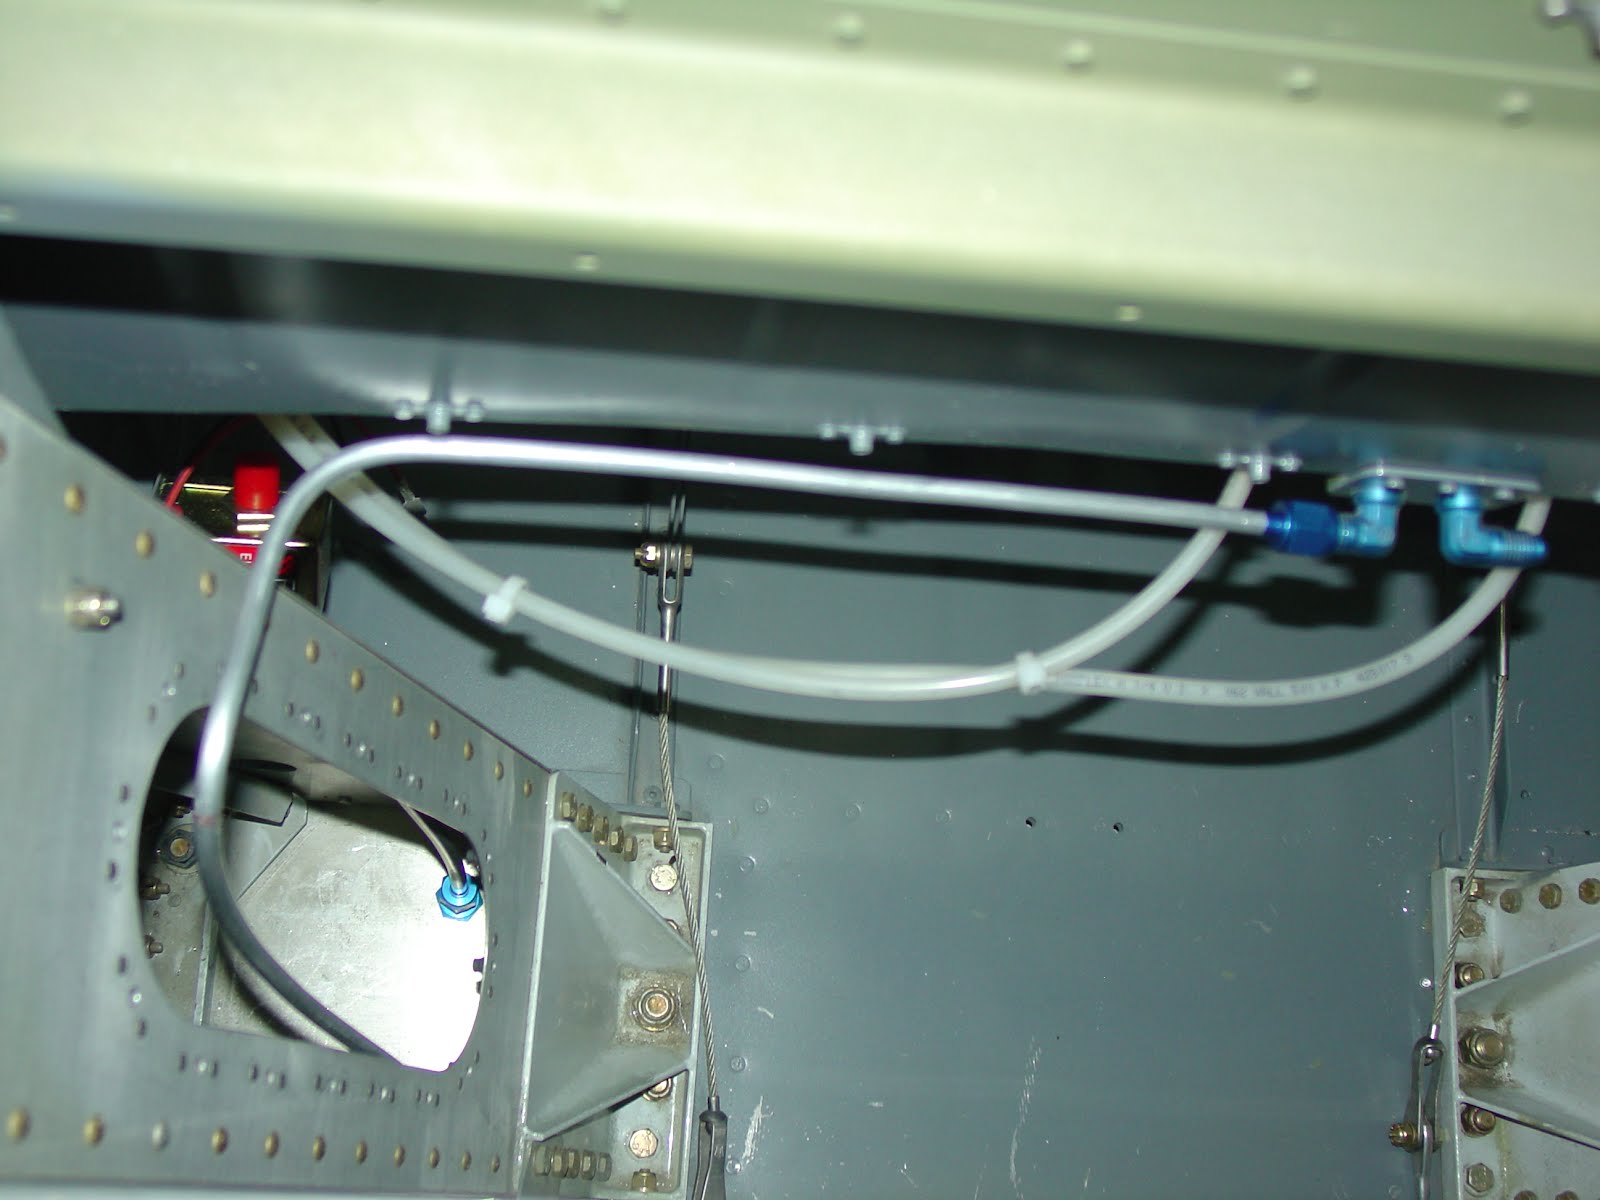
Yesterday and today, I built and then rebuilt the left side upper brake line and routed it differently than before, as completed yesterday, to avoid going into the area that was previously modified that will have a flat plate on it. I didn't want to go into that new plate. I also built and routed the upper right side the same way. I drilled a hole in the forward side of the "tunnel" and installed a grommet so the brake tubing will not chafe. The first photo shows the original way that is in the plans and the other three photos show the new installation.
I also completed the fuel valve installation with the new plate. This took quite the accurate measurements to avoid having non-round holes in the new plate.
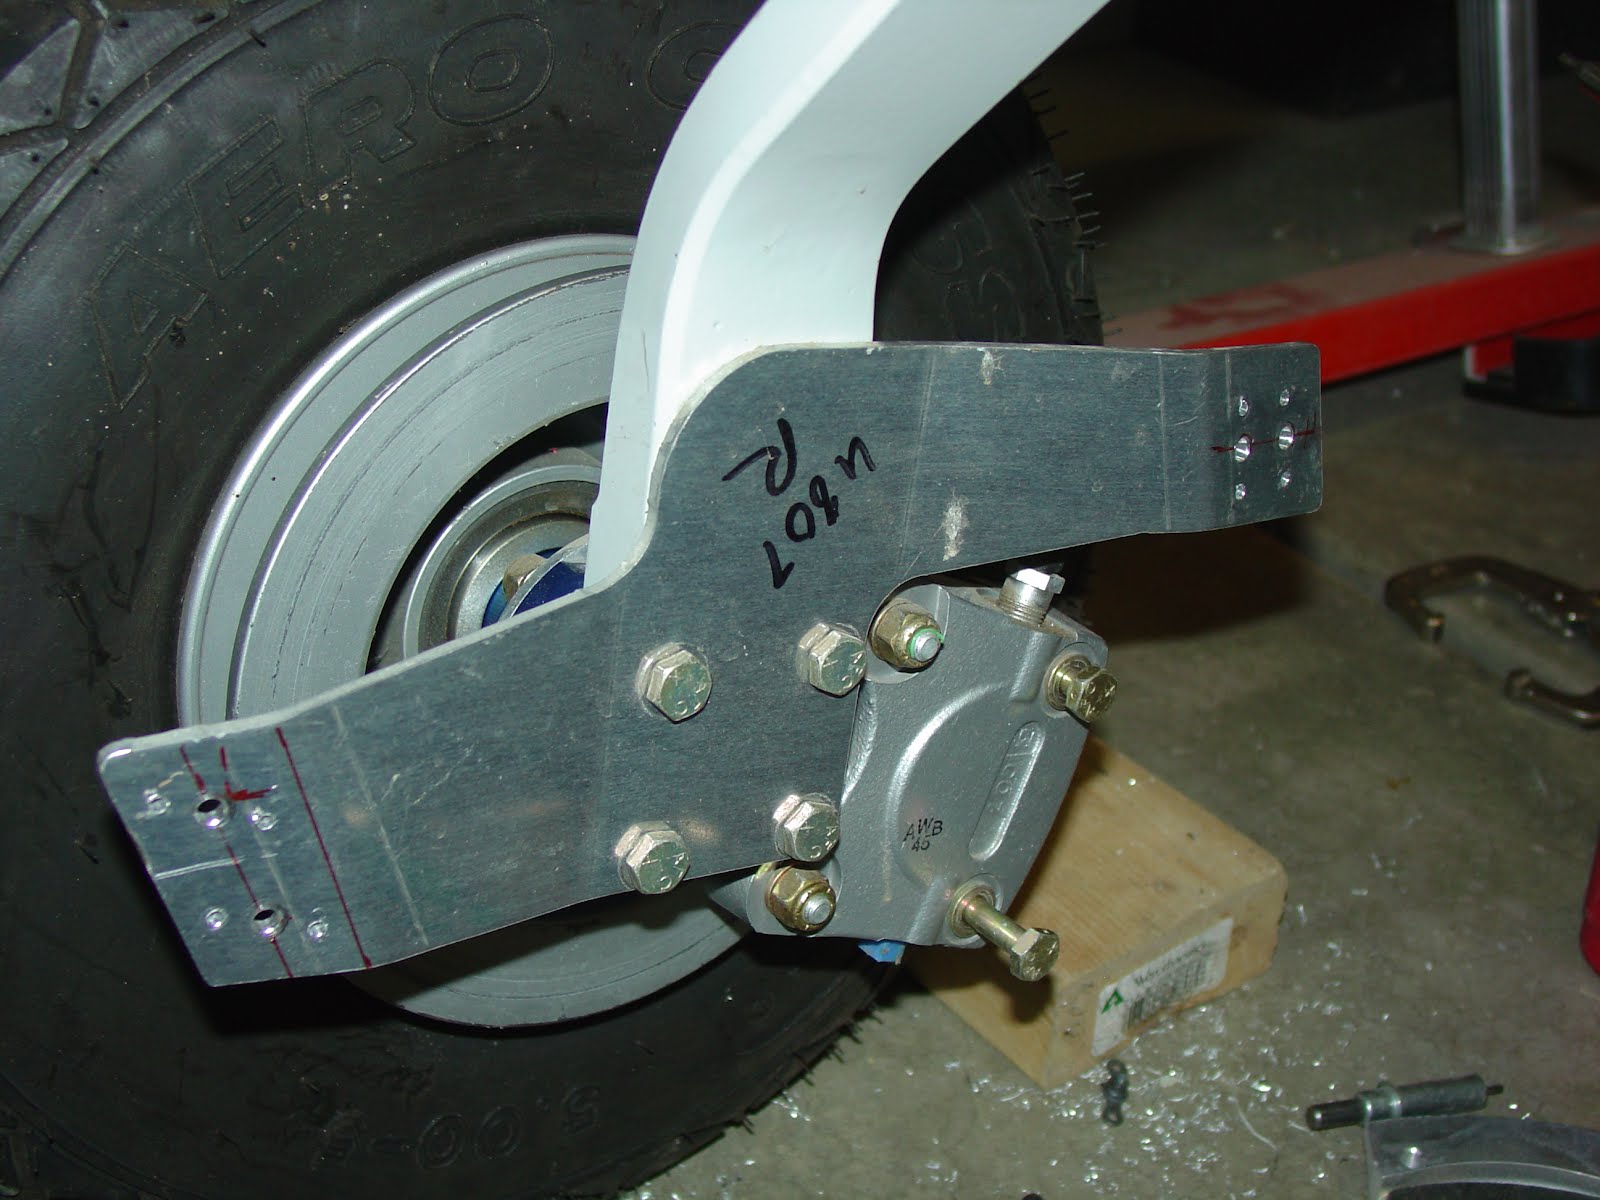
The nutplates for the wheel pants were installed as well.
The last bolt in the engine mount was also installed.